Review Us
  Review Us
Cavities are one of the most common dental problems people experience. They occur when bacteria in the mouth produce acids that gradually wear down tooth enamel. If left untreated, cavities can grow larger and lead to more serious dental issues such as infection or tooth loss.
The good news is that cavities are highly treatable when caught early. Knowing the warning signs can help you seek care before the problem worsens.
What Is a Cavity & What Causes them?
A cavity is a small hole that forms in the tooth due to tooth decay. This happens when plaque builds up on the teeth and produces acids that break down enamel over time.
Common causes include:
- Frequent consumption of sugary foods and drinks
- Poor brushing and flossing habits
- Dry mouth or reduced saliva production
- Mouth breathing at night
- Plaque buildup on teeth
- Pore systemic health
- Underlying disease (HIV/AIDS, diabetes, insulin resistance, heart disease, history of stroke, sjogren syndrome, sarcoidosis, & more)
- Hypomineralization
- Environmental factors (poor diet, contaminated water supply, environmental toxins, lack of healthcare)
When decay reaches deeper layers of the tooth, symptoms often become more noticeable.
Common Signs You May Have a Cavity

Tooth Sensitivity
- Sensitivity to hot, cold, or sweet foods
- Discomfort when drinking cold beverages
- Lingering sensitivity after eating
This is often one of the earliest signs of enamel damage.
Tooth Pain or Ache
- Persistent toothache
- Pain when biting or chewing
- Sharp pain when eating certain foods
Pain may indicate that the decay has reached deeper layers of the tooth.

Visible Holes or Dark Spots
- Small pits or holes in the tooth
- Brown, black, or white spots on enamel
These changes can be signs that decay is progressing.
Bad Breath or Unpleasant Taste
- Ongoing bad breath
- A bad taste that doesn’t go away
Bacteria that cause cavities can also contribute to unpleasant mouth odors.

Pain When Eating Sweet Foods and Temperature Sensitivity
- Sudden discomfort when eating candy or sugary foods
- Sharp sensitivity to sweets
- Sensitivity to cold or hot foods
Sugar can trigger pain when enamel has already begun to weaken.
What Happens If a Cavity Is Not Treated?
Ignoring a cavity can lead to more serious dental problems, including:
- Larger areas of decay
- Tooth infections
- Severe tooth pain
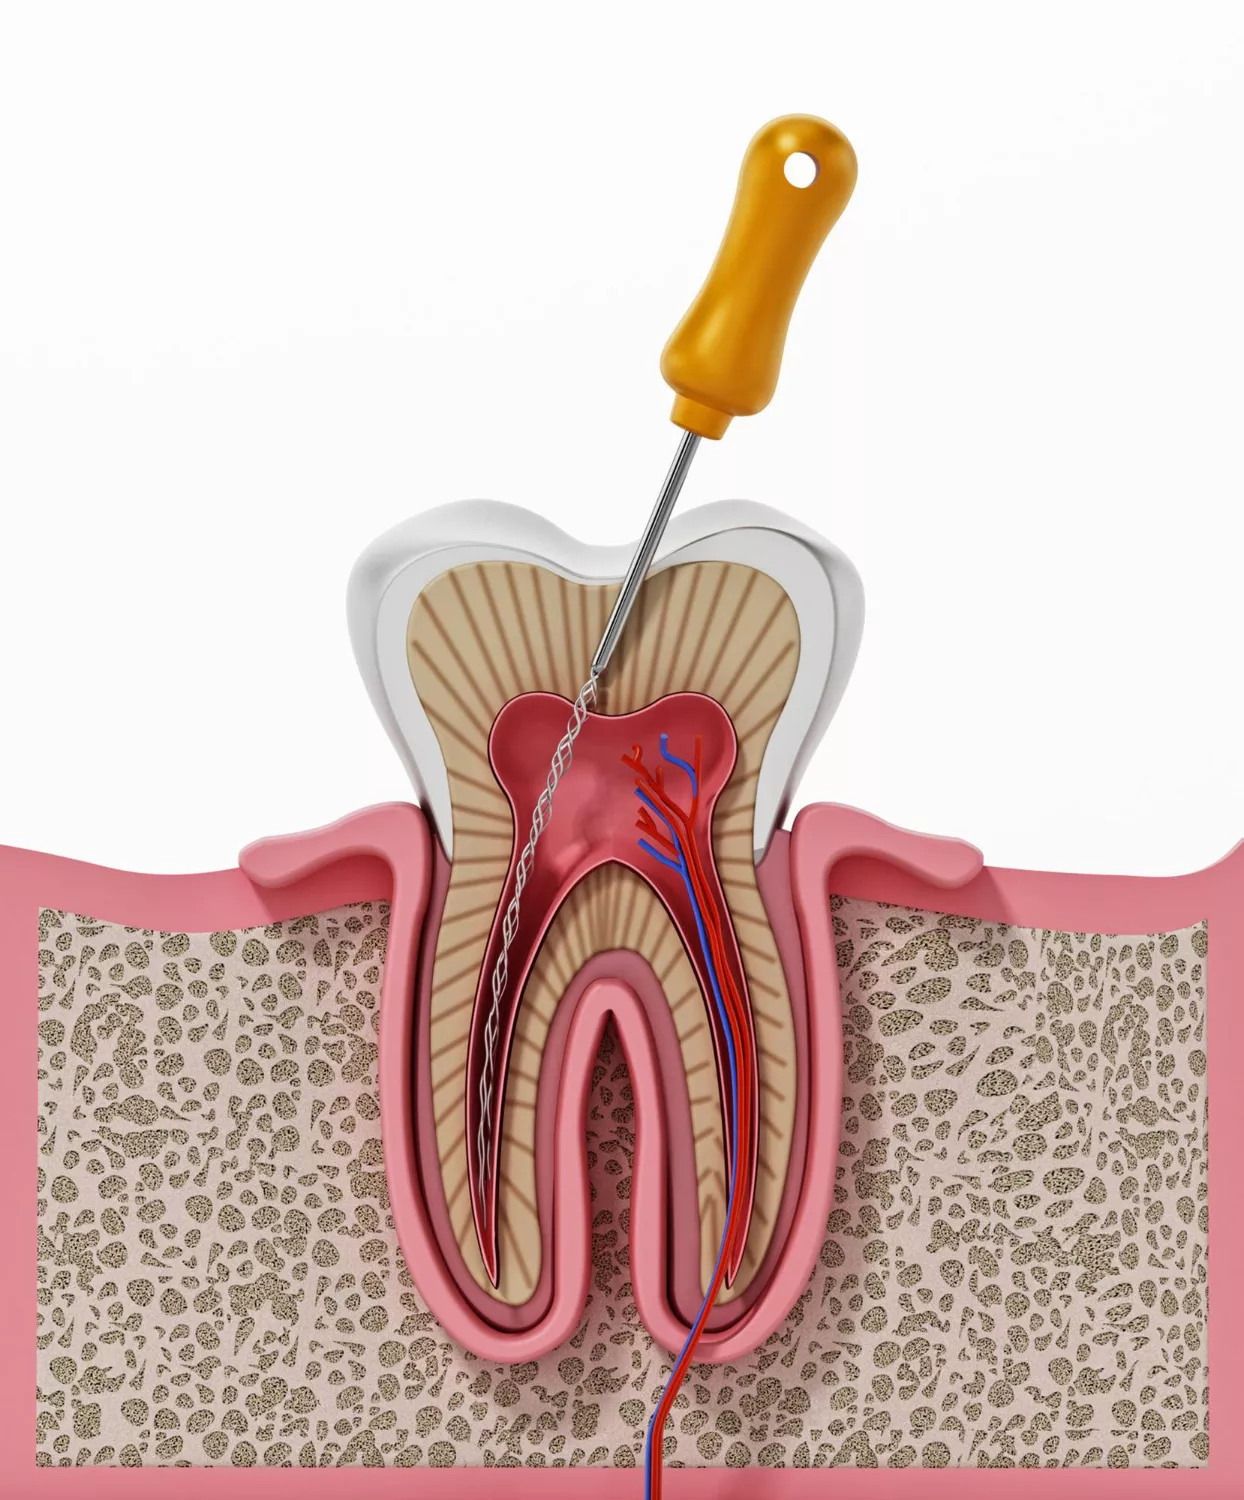
- Root canal treatment
- Tooth loss
Early treatment helps prevent these complications.
How Dentists Treat Cavities
Treatment depends on the extent of the cavity. Options may include:
- Dental fillings
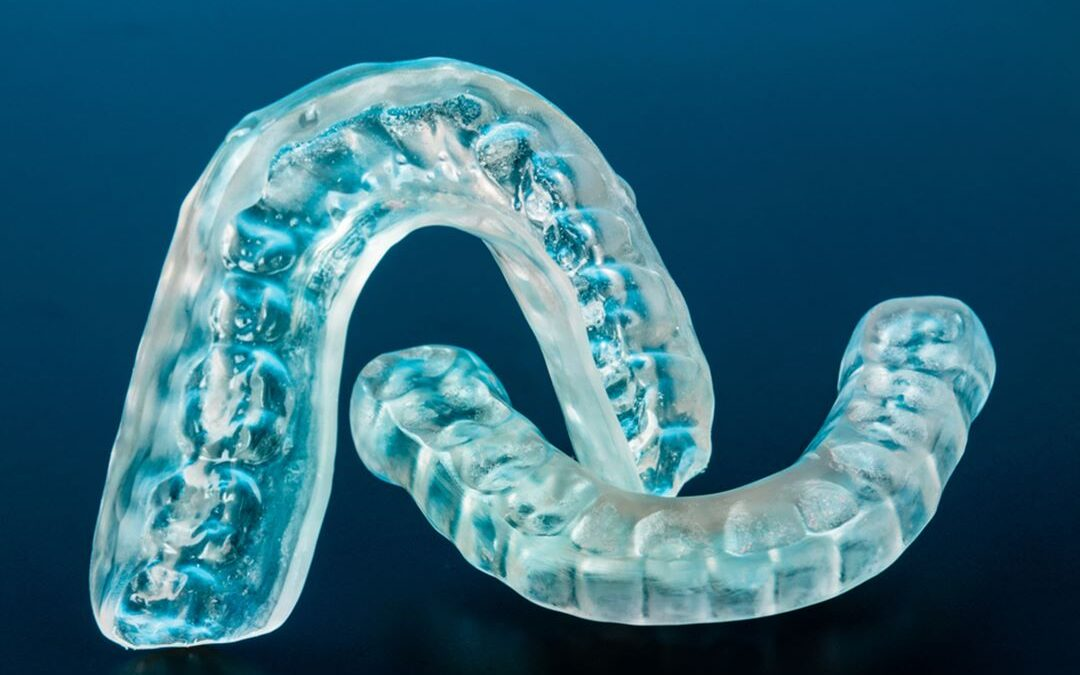
- Fluoride treatments (for early decay)
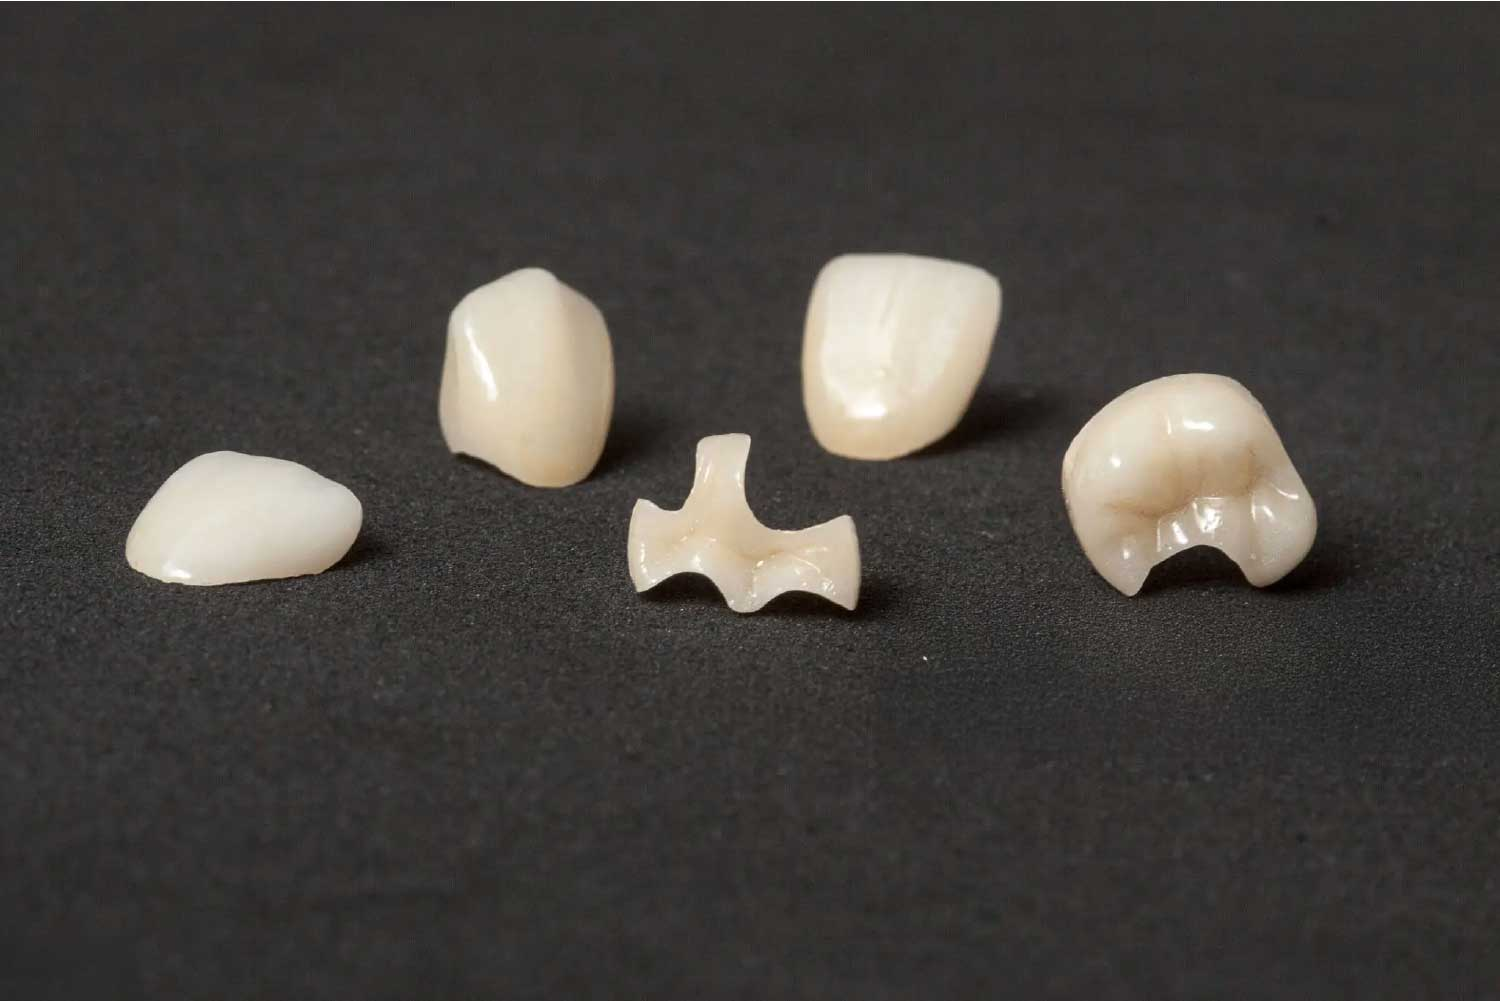
- Dental crowns
- Root canal therapy for severe cases
Regular dental exams help detect cavities before they become more serious.
How to Prevent Cavities
You can lower your risk of cavities by following good oral hygiene habits:
- Brush twice daily with fluoride toothpaste
- Floss every day
- Limit sugary snacks and drinks
- Drink water throughout the day
- Visit your dentist for regular checkups and cleanings
Prevention is the best way to protect your teeth long-term.

Cavities are common but they are also preventable and treatable when caught early. If you notice tooth sensitivity, pain, or changes in your teeth, it’s important to schedule a dental exam as soon as you can. Addressing small issues early can help keep your smile healthy and strong for years to come.